

A new project is well underway and ready for posting. Trips to the beading store always spark fresh ideas or reminders of old ones, and a beading extravaganza last week proved to be no exception. This time around, I've decided to break it down in a how to format, just in case anyone else wanted to learn to do a circular brick stitch.
The circular brick stitch is wonderful with truly endless possibilities. These little gems can be used to embellish anything from shoes to headbands and everything in between. I have created a slew of them for a cuff... more on that in Part 2, of course.
On to the how to!

Step 2: String your thread through your center bead and then back through again, wrapping your thread around it.

Step 4: To start your row, string two beads. Every row will start with two.
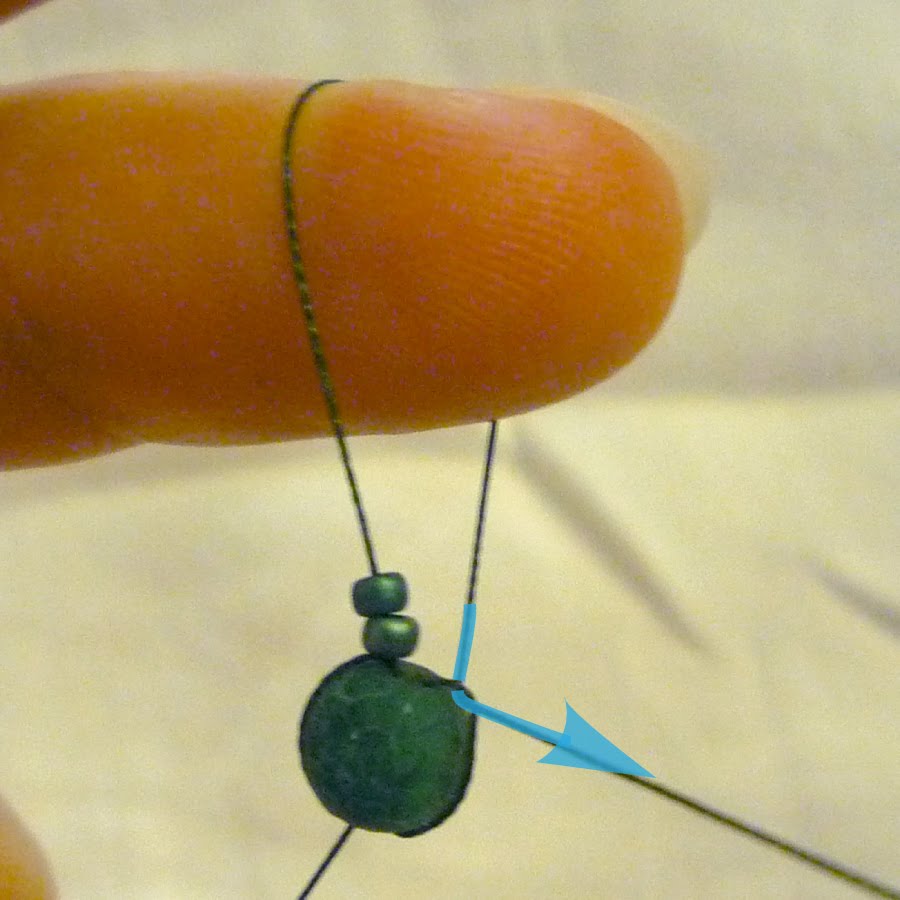 Step 5: With your needle, "hook" your thread underneath the loop you created around your center bead in Step 2. This will anchor your row to your center bead.
Step 6: Thread your string back through the second bead, noting the direction you thread it back through. The bead flips to lie flat against the center bead. Gently tighten your beads.

Tip: Less is more when it comes to the number of beads in your row. Don't try to "squeeze" one more bead in; this will result in a lumpy and wavy piece. It can be a fun effect, but only if that's what you're going for.
 Step 8: To finish your row, thread your needle back down through your first bead. Proceed to hook and thread it back through like it was a new bead. Your first row is finished!
 Repeat Steps 4 - 8, now hooking to the previous row's threads. Add as many rows as your heart desires to create dainty little circlets or elaborate creations. Tie a knot and give it a trim.
Tip: The more variation in the size and texture of your beads, the more interesting your piece will be. Play with the patterns and see what you come up with.
There you have it. I hope you've enjoyed this little tutorial. I would love to see what you create. Stay tuned for Part 2: The Completed Cuff!
So I'm thinking of attempting this. Well something similar. Let's see if I have the patience. Jules
ReplyDelete